


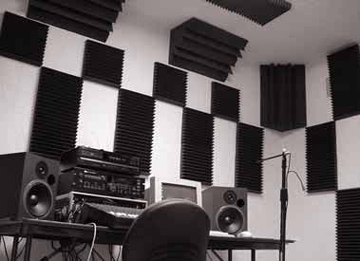
Easy Guide to Installing Acoustic Foam in your Home Studio
Posted: 24 October 2014
Synopsis: Bought some acoustic foam but don't know how to attach it? There are many different methods to do this, some cheaper, some unexpected, some useless. This quick and easy to follow article will suggest a few different ways to apply acoustic insulation to yo

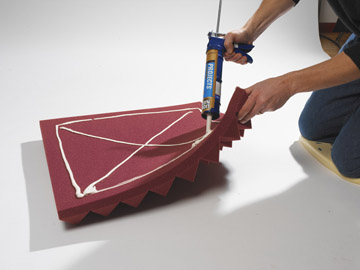
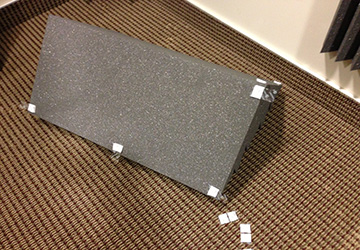
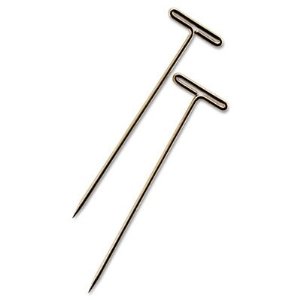
Wanting to apply Acoustic Foam to your home studio but can't leave a mark?There are many, many ways to do this, some are costly, some are cheap. But for most aspiring sound engineers, putting a big nail through the wall of their rented apartment is not exactly ideal. Luckily, there are many solutions to this. The Common Solutions:The most common way for sticking an acoustic foam tile to a wall tends to be glue. Whether it be Liquid Nail, PVA Wood Glue or a Spray-on Adhesive, glue generally does the trick. Liquid Nail is one of the strongest and most effective adhesives, but isn't a good solution for anyone who can't leave a mark on their walls or who is planning on removing the foam anytime in the near future. Even when removed slowly, the Liquid Nail likes to hold on to some of the foam and to some of the wall, and it's more than likely to take some of either with it. Spray on adhesives are effective as they dry quickly and are strong, but just like the Liquid Nail, it can damage the wall if the foam is removed. There are some brands which won't leave a mark, but their strength can vary and they may not be able to support the foams weight for long. The Uncommon Solutions:There are a few cheaper solutions which can work just as well as something more expensive. Stick-on Velcro is a hit and miss, depending on many factors. The surface it's placed on and even the humidity in the air, can drastically alter if it will stick and hold to a surface or not. Generally, velcro dots/strips can be removed from a wall without leaving a mark - so this sparks interest to those looking for a cheap way to stick their acoustic foam around the room. Generally the adhesive on any cheap peel-off sticky strip won't be able to stick to foam for long, so applying some glue to the foam end can attach it a bit better. Sometimes, gluing the foam to a thin piece of wood and then attaching that wood to the wall can minimise the holes and damage you'd make placing each foam tile individually. Another common idea is to nail the foam to either the wall or, as mentioned, a thin piece of wood. Nails often tear and make a mess of the foam, the same with some staples. The Unexpected Solutions:There are many interesting and unusual methods being discussed on different forums on the internet. A very common and handy way of attaching foam is with "T-Pins". T-Pins are small pins with a longer needle than thumb tacks and a flat head (giving it the "T" shape) can be picked up from most art, craft and fabric stores. Attaching cardboard to the back of the foam with the T-Pins, and then flattening them out (some are fairly long) is a simple way to get acoustic foam attached to a backing without any glue. Combining this with some No-Mark sticky hooks (which are perfect for those who are renting) is an great way to hang foam without a single hole in the wall. After searching the internet, one of the most interesting ideas popped up frequently throughout various forums. Glueing CD's to the back of your acoustic foam using a strong adhesive, and then hanging the foam to the walls off of thumb-tacks placed through the holes in the CD's. Of course, this uses both glue and puts holes, although very small, in your wall, it is a cheap and effective way to hang acoustic treatment to the walls of your home studio with minimal damage and marks. Leaving a Small Mark:If you have the option to leave any small holes (screws for holding up picture frames for example), then there are a few extra options which can be explored. Staples can rip holes in your foam, but if small, patchable holes are acceptable in the walls, then they can still be an option. Using many of the above methods, with the addition of staples, can add extra strength to support your foam. By glueing/pinning a backing to your your foam, such as cardboard, a thin piece of wood or fabric, and then stapling the backing to the wall, can provide a cost effective, minimal effort solution to acoustically insulating your home studio.
|  |
 | |
 | |
 | |
 |


