

























Basics of Mixing and Effects Processing
Author: SWAMP Industries
Posted: 6 September 2026
Synopsis: The three tools that do most of the work in any mix, on hardware or in a DAW. Lesson 4 of the SWAMP audio production course.
Lesson 4 of 7
Back to course overviewLessons in this course
EQ, Compression and Reverb Explained Simply
Three tools do most of the work in any mix: EQ shapes the tone, compression controls the dynamics, and reverb creates the space. This lesson explains how each works, how the controls differ between simple analogue mixers, digital consoles and DAW plugins, and how to start using them in both live and studio environments.
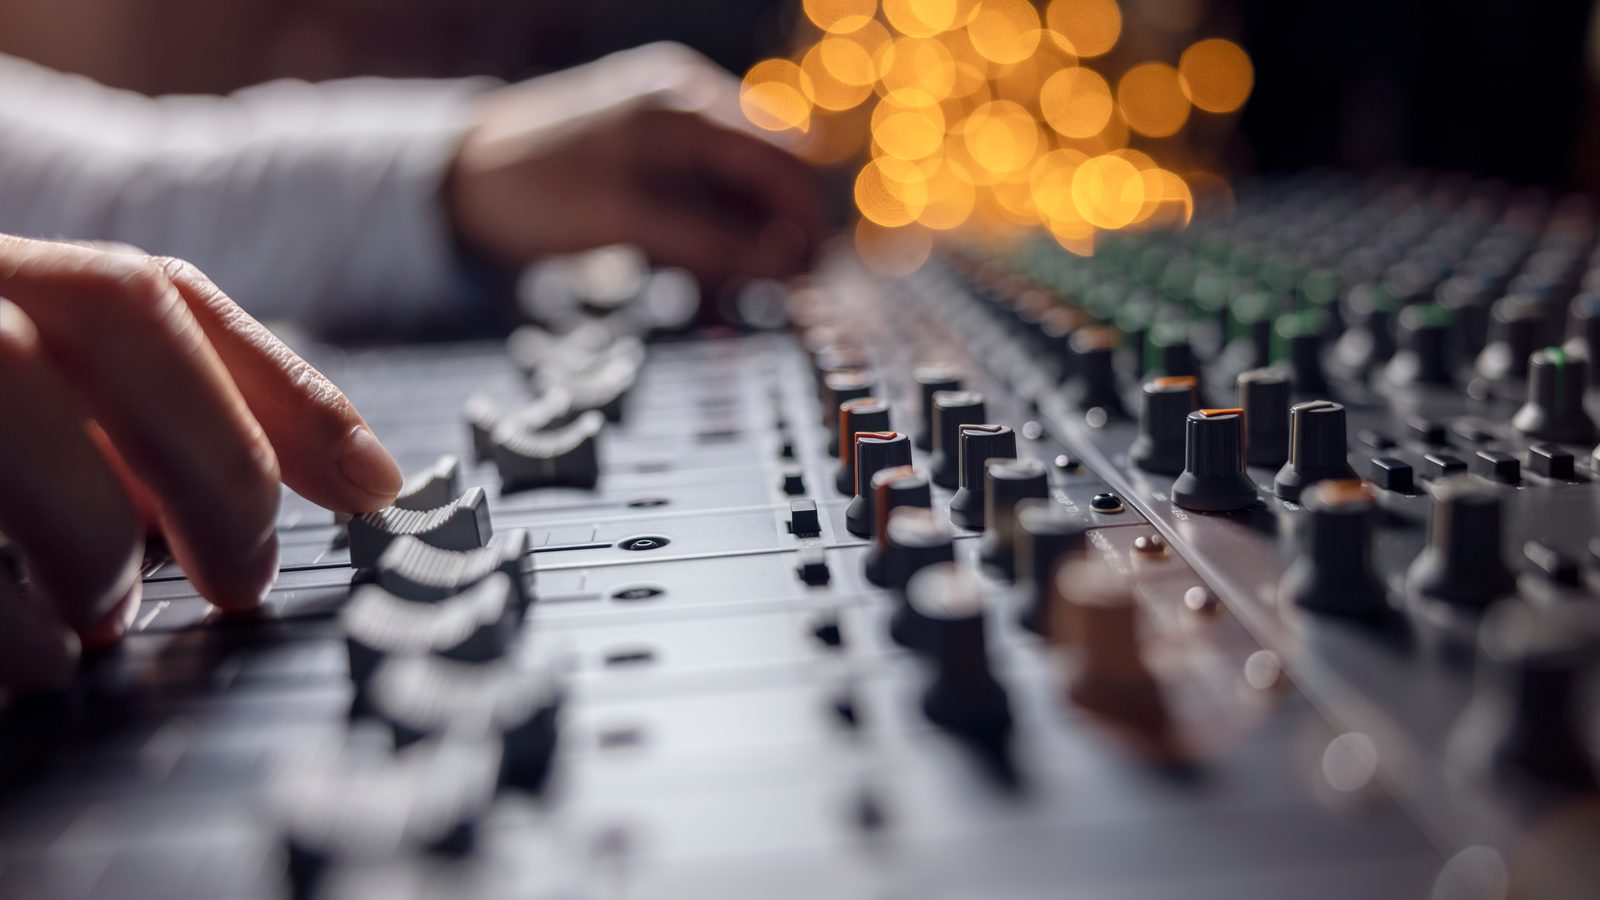
Understanding EQ, Compression, and Reverb
Equalisation (EQ)
EQ, or equalisation, is one of the most fundamental tools in audio mixing, used to balance or enhance the frequency spectrum of an audio signal. By adjusting specific frequency ranges, EQ allows sound engineers to sculpt the tone and clarity of individual tracks or the entire mix.
In basic analogue mixers, EQ is often limited to two or three knobs per channel, such as High (treble) and Low (bass). These act as "volume controls" for specific frequency ranges, allowing users to cut or boost parts of the audio spectrum. While basic mixers may not include midrange EQ, the midrange can still be emphasised by reducing the bass and treble frequencies. More advanced mixers introduce midrange controls (Low Mid and High Mid), often with a frequency selector to target a specific part of the spectrum.
Professional analogue mixers may also offer a frequency control for the midrange EQ, which sets the exact frequency where adjustments occur. This introduces the concept of the EQ "curve" - the range of frequencies affected around the chosen point. On analogue mixers, this curve is fixed and cannot be altered.
In digital mixers and DAWs, EQ functionality is significantly more advanced, often featuring parametric EQs. These allow full control over:
- Frequency: The specific point in the spectrum where adjustments are made.
- Gain: The amount the frequency is boosted or reduced.
- Bandwidth (Q): The width of the affected frequencies around the chosen frequency.
- Slope (Filter Steepness): The sharpness of the roll-off around the selected frequency. A steep slope is ideal for precise adjustments, while a gentle slope is better for broader tonal changes.
With these tools, users can sculpt audio with surgical precision, making parametric EQs indispensable in both live sound and studio mixing. Standalone rack-mounted units are also common in live rigs; you can find them in the SWAMP Equalisers range.
Compression
Compression controls the dynamic range of an audio signal by reducing the difference between its loudest and softest parts. This ensures consistency in volume, prevents distortion from peaks, and makes quieter sounds more audible.
Basic analogue mixers may not include compression controls, while mid-level mixers often feature a single-knob compressor. This simplified control adjusts multiple parameters automatically, allowing users to apply compression without extensive technical knowledge.
A dedicated compressor or compressor plugin provides full control over parameters:
- Threshold: The volume level at which compression begins.
- Ratio: The degree of compression applied to the signal above the threshold (e.g., 4:1 means every 4 dB above the threshold is reduced to 1 dB).
- Attack: How quickly the compressor reacts to signals above the threshold.
- Release: How quickly the compressor stops affecting the signal once it falls below the threshold.
- Knee: Determines whether compression is applied gradually (soft knee) or suddenly (hard knee).
- Makeup Gain: Boosts the overall volume after compression.
Compression is commonly used for vocals and instruments like drums, where a consistent output is desirable. For example, a vocalist with poor mic technique may require more compression to balance their performance, while a skilled vocalist may only need slight compression to manage peaks. Parallel compression, a technique where a heavily compressed signal is blended with the uncompressed signal, is popular for retaining dynamics while adding impact.
Reverb
Reverb simulates the natural reflections of sound in a physical space, such as a room, hall, or cathedral. In live environments, reverb is often already present due to the venue's acoustics. However, in studio settings, where tracks are recorded in acoustically treated rooms to minimise reflections, artificial reverb is applied to add depth and spatial dimension.
Reverbs are often named after the spaces they emulate:
- Hall Reverb: Mimics the expansive sound of a concert hall.
- Room Reverb: Simulates the acoustics of smaller spaces.
- Plate Reverb: Creates a metallic, vintage sound using a physical plate in older devices.
- Spring Reverb: Commonly used in guitar amplifiers for a twangy, retro effect.
In live sound, reverb is selectively applied to certain channels, such as lead vocals or snare drums, to enhance the performance. In studio production, reverb is carefully added to individual tracks or the master mix to create a cohesive sound. Overuse of reverb, however, can muddy the mix and reduce clarity, so it is important to apply it sparingly.
EQ, compression, and reverb are essential tools in any mixing process, whether in live sound or studio environments. These tools are commonly applied to individual channels or tracks but are also crucial for shaping sub-groups and the overall mix.
For example, a drum kit may have each microphone channel individually EQ'd and compressed, but grouping the drum channels into a sub-group allows for additional compression to keep the overall drum sound balanced and cohesive. Similarly, EQ can be applied to the master mix to adapt the sound to a specific venue, ensuring the mix suits the acoustics of the space.
Understanding how to use these tools effectively is vital for achieving a professional, polished sound in any audio production setting.
Using DAWs to Process Audio
Digital Audio Workstations (DAWs) are powerful tools for recording, editing, and processing audio. They provide an all-in-one environment for creating music, podcasts, and other audio projects. From setting up a virtual mixer to using plugins, here is what you need to know to get started.
Overview of Popular DAWs
DAWs come in a variety of forms, each tailored to different workflows and levels of expertise. Here are some of the most popular options:
- Audacity: A free, beginner-friendly DAW great for basic audio editing and recording tasks. Its simple interface makes it ideal for entry-level users or podcasters.
- GarageBand: Available on macOS, GarageBand is perfect for beginner musicians, offering a user-friendly interface and built-in instruments.
- Ableton Live: Favoured by electronic music producers, it excels in real-time performance and MIDI sequencing.
- Pro Tools: Considered the industry standard for professional audio production, Pro Tools is widely used in studios for recording, mixing, and mastering.
- Logic Pro: Another macOS-exclusive DAW, Logic Pro is versatile and powerful, suitable for intermediate to advanced users.
- FL Studio: Popular among beatmakers and electronic producers, FL Studio is known for its intuitive interface and drag-and-drop workflow.
Boxed licences for several majors are stocked in the SWAMP DAW Software range.
Setting Up a Virtual Mixer
DAWs include virtual mixers that replicate the functionality of physical mixing consoles. To start:
- Create and Organise Tracks: Create separate tracks for each instrument or sound source, labelling them for easy navigation. For example, vocals, guitar, bass, and drums should each have their own track.
- Set Input Levels: Adjust the input gain for each track to ensure clean recordings without clipping. Use the DAW's visual meters to monitor levels.
- Route Signals: Use busses to create sub-mixes, such as grouping all drum tracks into a single drum mix. This simplifies the process of applying effects or controlling the overall drum volume.
- Apply Panning: Distribute sounds across the stereo field by adjusting the pan control for each track. This creates a sense of space and dimension in the mix.
Working with Plugins
Plugins are software tools that expand the capabilities of your DAW, allowing you to shape your sound with effects, instruments, and utilities. Common plugin types include:
- EQ and Compression Plugins: Essential for balancing frequencies and managing dynamics. They replicate or expand upon the EQ and compression tools found in physical mixers.
- Reverb and Delay Plugins: Add depth and space to your mix, emulating the natural reflections of sound or creating complex echoes.
- Virtual Instruments: MIDI-based plugins that simulate instruments like pianos, synthesisers, and drums. These are invaluable for creating music without physical instruments.
- Pitch Correction Plugins: Useful for fine-tuning vocals or experimenting with creative pitch effects.
When using plugins, consider these tips:
- Start Simple: Apply only essential effects like EQ and compression to begin. Overloading tracks with plugins can muddy your mix.
- Experiment and Learn: Each plugin has unique controls and presets. Experimenting with these can deepen your understanding of audio processing.
- Use Sends for Effects: Instead of applying reverb or delay to each track individually, use a send to route multiple tracks to a single effects channel. This reduces CPU load and creates a cohesive sound.
Tips for Efficient Workflow
- Templates: Save commonly used track setups and effect chains as templates for future projects.
- Shortcuts: Learn keyboard shortcuts for your DAW to speed up editing and navigation.
- Save Often: Regularly save your work to prevent data loss. Many DAWs have autosave features - enable them if available.
- Export Settings: Choose the appropriate format and bitrate for your export. For professional work, 24-bit/48kHz WAV files are recommended.
The Role of DAWs in Modern Audio Production
DAWs have revolutionised the way audio is created and processed, offering enormous flexibility and creative potential. Whether you are a beginner working on your first project or an experienced producer exploring advanced techniques, mastering your DAW is an essential step in the journey of audio production.
Summary
Understanding the fundamentals of mixing and effects processing is key to creating balanced and polished audio. Techniques like EQ, compression, and reverb allow sound engineers to shape and refine individual tracks and the overall mix. Whether you are working with analogue equipment or exploring the vast capabilities of DAWs, these tools give you precise control over tone, dynamics, and spatial effects. By mastering these techniques and applying them strategically, you can improve the quality of your productions, whether in a live setting or a studio environment.
Continue the course
- Previous lesson: Introduction to Audio Interfaces and Digital Recording
- Next lesson: Live Sound Engineering Essentials
- Course overview: Audio Production Course
Ready to practise EQ, compression and effects on real hardware? The SWAMP Mixing Desks range has consoles for every stage and studio, and outboard EQ and dynamics live in Signal Processors.