





















Troubleshooting Audio Issues
Author: SWAMP Industries
Posted: 6 September 2026
Synopsis: The five faults every system develops and how to fix them fast, plus gear maintenance basics. Lesson 6 of the SWAMP audio production course.
Lesson 6 of 7
Back to course overviewLessons in this course
Hum, Feedback and Silence: Finding the Cause Fast
Nearly every audio fault traces back to a short list of causes: a damaged cable, incorrect gain, a ground loop, or a microphone hearing a speaker it should not. This lesson covers the five problems you will actually meet (hum, feedback, distortion, silence and noise), how to fix each one, and the maintenance habits that stop most of them happening in the first place.
Common Problems and Fixes in Sound Systems
Hum or Buzz in the System
Overview: A persistent hum or buzz is one of the most common audio problems and can be caused by ground loops, electromagnetic interference, or poorly shielded cables.
Fixes:
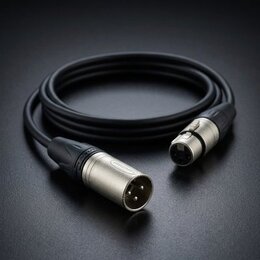
- Use Balanced Cables: XLR or TRS cables are designed to cancel out noise by carrying balanced signals. Replace unbalanced cables (e.g., RCA) where possible.
- Check Grounding: Ensure all devices in your audio chain are properly grounded. Avoid using different power outlets for equipment to minimise ground loops.
- Ground Loop Isolators: For stubborn hum issues, use a ground loop isolator (also sold as a hum eliminator) to break the unwanted electrical loop causing the hum.
- Isolate Interference Sources: Keep audio cables away from power cables and devices like dimmer switches or wireless routers that emit electromagnetic noise.
Feedback
Overview: Feedback occurs when a microphone picks up amplified sound from a speaker and re-amplifies it, creating a feedback loop that results in an unpleasant squeal or hum.
Fixes:
- Microphone Positioning: Place microphones away from speakers and never point them toward a speaker or foldback wedge.
- Monitor Speaker Placement: Position monitors at an angle toward the performer but away from the microphone's pickup pattern.
- EQ Adjustments: Use the mixer's EQ to identify and lower the specific frequencies prone to feedback.
- Venue-Specific Adjustments: Feedback sensitivity and prone frequencies vary depending on the acoustics of the venue. Experiment with speaker placement and EQ settings for optimal results.
Distortion
Overview: Distortion occurs when an audio signal is overloaded, either by excessive input gain, clipping, or an overdriven amplifier.
Fixes:
- Set Input Gain Correctly: Adjust the gain knob on the mixer or interface to prevent the signal from clipping. Aim for levels that are strong but stay within the green or yellow range on level meters. (This is the gain staging principle from lesson 1.)
- Monitor Amplifier Levels: Ensure amplifiers are operating within their recommended power limits to avoid pushing them too hard.
- Check Cables and Connectors: Faulty cables or connectors can cause signal distortion. Replace any damaged components immediately.
No Sound
Overview: Silence can be one of the most frustrating issues, often caused by loose connections, incorrect routing, or hardware failures.
Fixes:
- Systematic Troubleshooting: Work through the signal chain stage by stage, exactly as mapped in lesson 1: check all connections, starting from the sound source (e.g., microphone or instrument) to the final output (e.g., speakers).
- Test Cables and Devices: Use a cable tester or swap in known-good cables and devices to isolate the problem.
- Verify Mixer Settings: Ensure channels are unmuted, routed correctly, and assigned to the appropriate outputs.

Unwanted Noise (Hiss, Crackle, or Pops)
Overview: Unwanted noise can stem from interference, poor-quality cables, or problems with input devices like microphones or DI boxes.
Fixes:
- Upgrade Cables: Replace low-quality or damaged cables with well-shielded, professional-grade options. Our guide to audio cable shielding explains what separates a quiet cable from a noisy one.
- Reduce Interference: Keep audio cables away from power cables, and turn off nearby wireless devices that might cause interference.
- Test Inputs: Test each microphone or instrument individually to identify the source of the noise.
Basic Audio Maintenance Tips
Cables
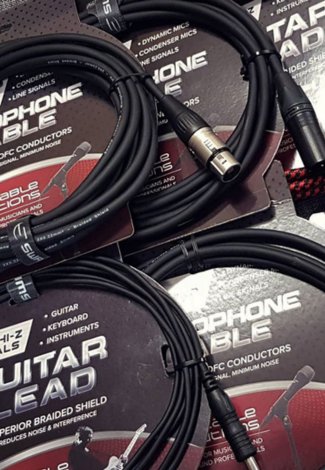
Regularly inspect cables for signs of wear, especially around the connectors where damage is most likely. Test cables periodically using a cable tester to check they work properly. Store cables neatly coiled and avoid tight bends to prolong their lifespan.
Microphones
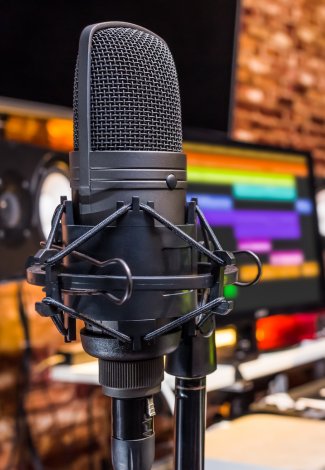
Clean microphone grilles regularly with a soft brush or compressed air to prevent dust buildup. Use windscreens for vocal microphones to maintain hygiene and protect against moisture. Handle microphones carefully to prevent damage to internal components.
Mixers and Audio Interfaces
Dust mixers and interfaces periodically to prevent dirt from accumulating on faders and knobs. Move faders and knobs regularly to prevent them from becoming stiff or stuck. Keep firmware and software updated to ensure compatibility and access to the latest features.
Amplifiers and Speakers
Inspect speakers for signs of physical damage, such as torn cones or loose connections. Avoid running amplifiers at maximum power for extended periods to prevent overheating. Keep vents and fans clear of dust to ensure proper airflow.
General Best Practices
Use protective cases or bags when transporting equipment to prevent physical damage. Avoid exposing audio gear to extreme temperatures or humidity. Regularly test your entire setup before a performance or recording session to catch potential issues early.
Summary
Troubleshooting audio issues and maintaining your equipment are essential skills for any audio professional or enthusiast. By understanding common problems like hum, feedback, and distortion, you can resolve them quickly and keep your sound system performing at its best. Regular maintenance, from testing cables to cleaning microphones, ensures reliability and longevity, letting you focus on delivering great sound. With these practices in place, you can minimise downtime and enjoy a smooth, stress-free audio experience.
Continue the course
- Previous lesson: Live Sound Engineering Essentials
- Next lesson: Advanced Topics in Audio Production
- Course overview: Audio Production Course
Most faults come down to cables, so keep tested spares in the kit. Stock up in the SWAMP Cables and Connectors range, and keep a hum eliminator handy for stubborn ground loops.
Next: Advanced Topics Shop Audio Cables Shop Hum Eliminators